Restore data from a Snapshot
Document Control
- Created: x
- Last Updated: 23/04/22
info
This doc is for file level restores, this differs from a VM level restore.
Create a new disk from a Snapshot
Validate the Snapshot
Make sure to check the SnapShot is valid before starting this process.
I'm assuming that there's already a Snapshot ready to go.
- Open the Azure portal, https://portal.azure.com.
- Navigate to a VM that is available to have a disk attached to it.
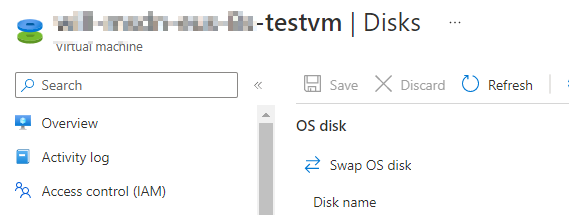
- Click on Disks on the left-hand side.
- Create a new disk.

- Click Edit on the far right hand side. As shown in red above.
- Name your Disk, I'd suggest, snapshot_ServerName_Date_Time
- Source, Select snapshot.
- Select the Snapshot you wish to attach.

- Make any changes to the Encryption Type.
- I'd suggest it not to be a shared disk.
- Press Save.
This shouldn't take too long.
Error "Host Caching is disabled..."
If you see the error below, change the Host Caching option to "none".

Confirm disk is visibile in the OS
tip
The share should be available from the get go however, you may need to bring the disk online within computer management.
- RDP into your VM & check File Explorer for your disk, the name will be what the share was called originally.
- Open Computer Management, Click Disk Management.
- Right-Click on the disk, mark it as Oneline.
You should now see it in File Explorer.